Introduction
This post is going to be about how I designed, built, and use my backyard observatory. I am planning to put a lot of pictures to show the progress as the project went along. I can say I have been very fortunate to have had a lot of help from family and friends, all with expertise in different areas. This has allowed me to finish this project and do a great job with it. Please enjoy.
Initial Planning and Preparation
The idea of this project came from a desire to make a permanent pier for my telescopes in the backyard, which had to meet several conditions:
1. It had to be in an area protected from wind.
2. It had to be protected from the dog.
3. It had to be close enough to run power and ethernet cords.
4. It had to have security camera coverage.
5. It had to not take up too much of my already existing backyard.
Eating dinner one night, the idea came to me to extend my backyard fence into my side yard. This would allow for a nice enclosed area, protected from wind, light, people, and my dog, while also giving extra storage space to place unused backyard items (like my grill).


Luckily, my wife was excited about this idea, as it gave us more storage space and did not any backyard space. I had the green light!
To begin this project, I needed to contact my neighborhood HOA for approval to add new fence to my yard. They agreed. Next, I had to get a fence permit from the city. For this I had to create a fancy property diagram with my desired fence. Done. Next, I had to call to the utilities people to ensure I could dig in the area and not hit and cords/pipes. Luckily, I was okay.
Next it was time to acquire the materials.
I found a trailer and borrowed a truck and picked up fence panels, posts, and about 3000lbs of concrete. I was lucky my mom and I could unload them all into my garage for storage. I would need additional concrete materials like rebar, remesh, rebar ties, bolts, etc. These would be acquired over time throughout this process.
I now had all the permissions and supplies I required for this project. Time to build!
The Construction Work
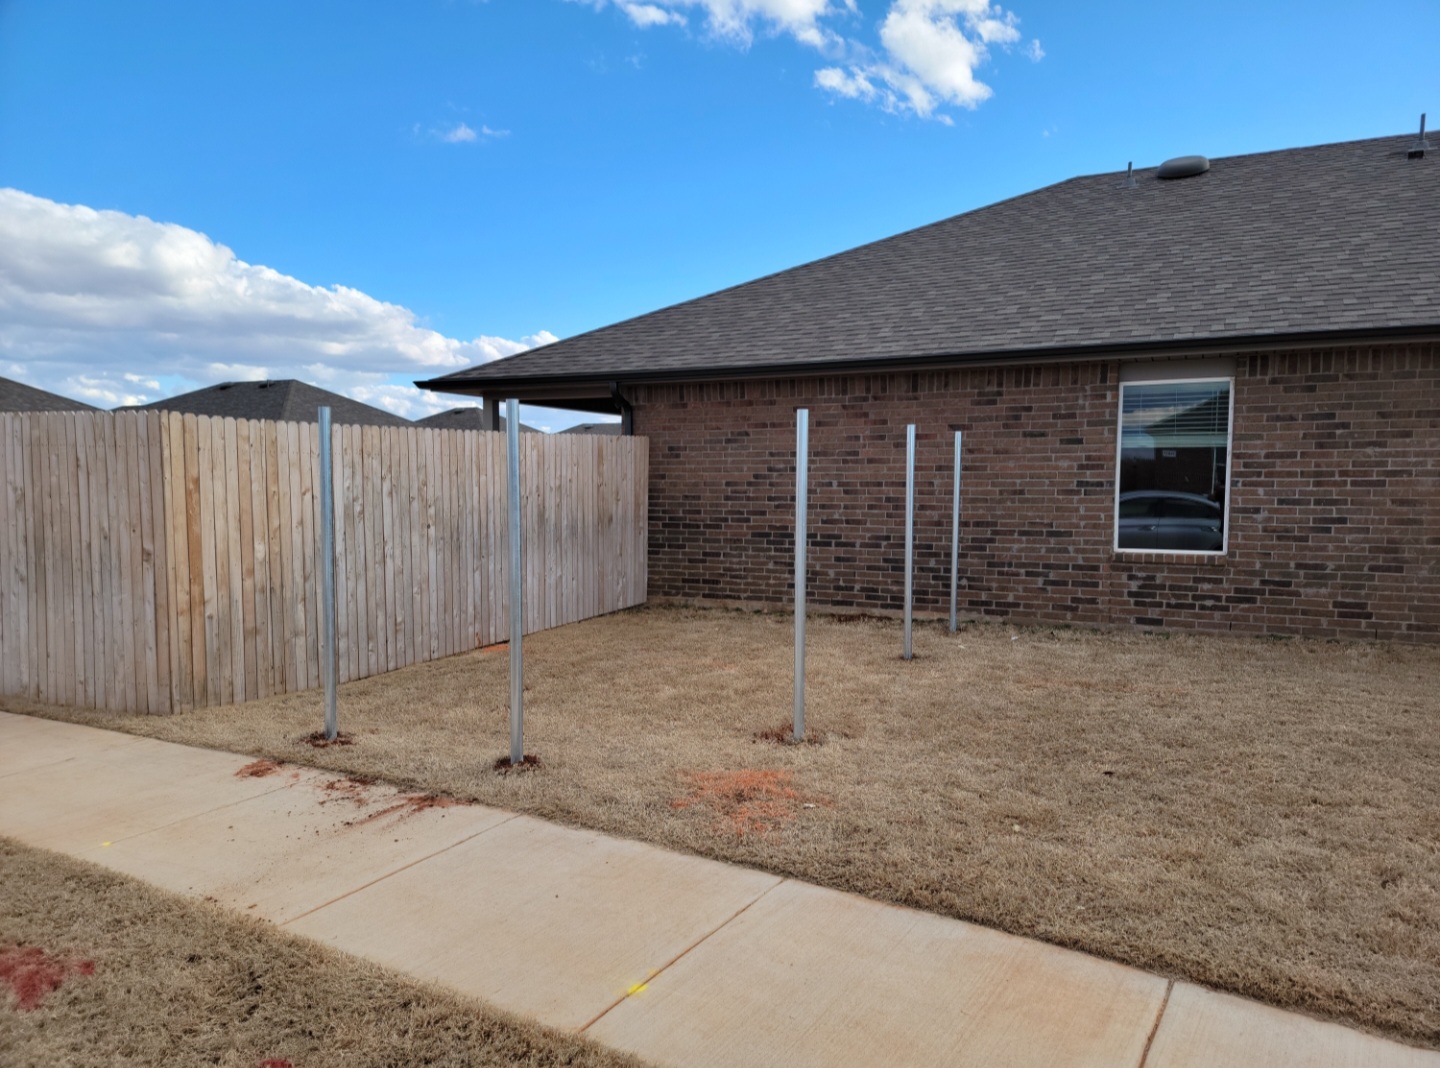
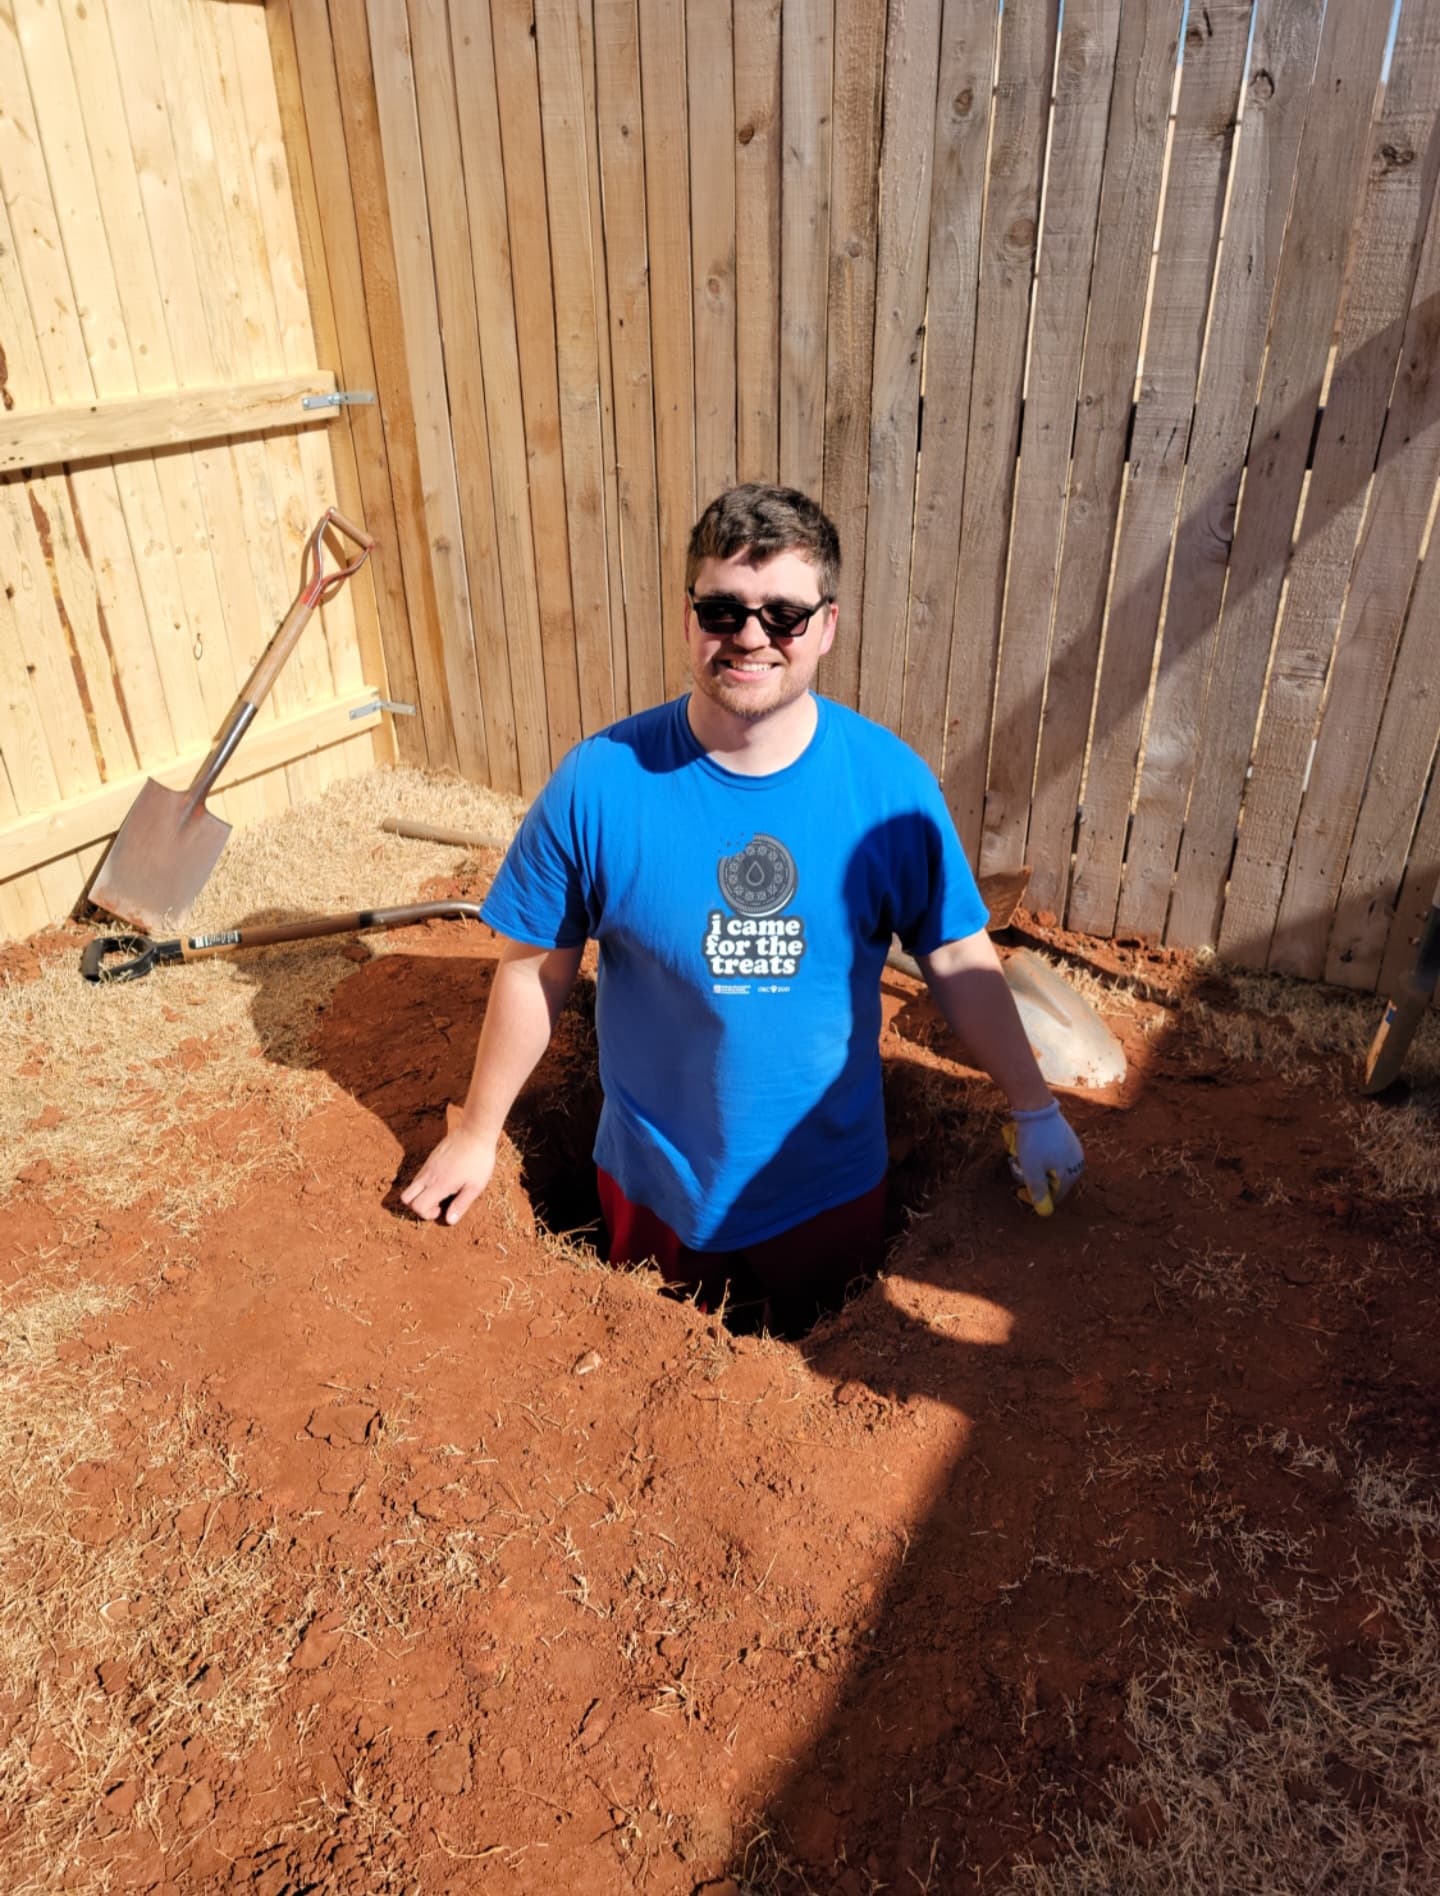
The first step in this project was to build a fence to protect the area from wind, neighbors, animals, etc. We measured out our fence, determined where the posts should go, ran string for straight lines, and got digging.

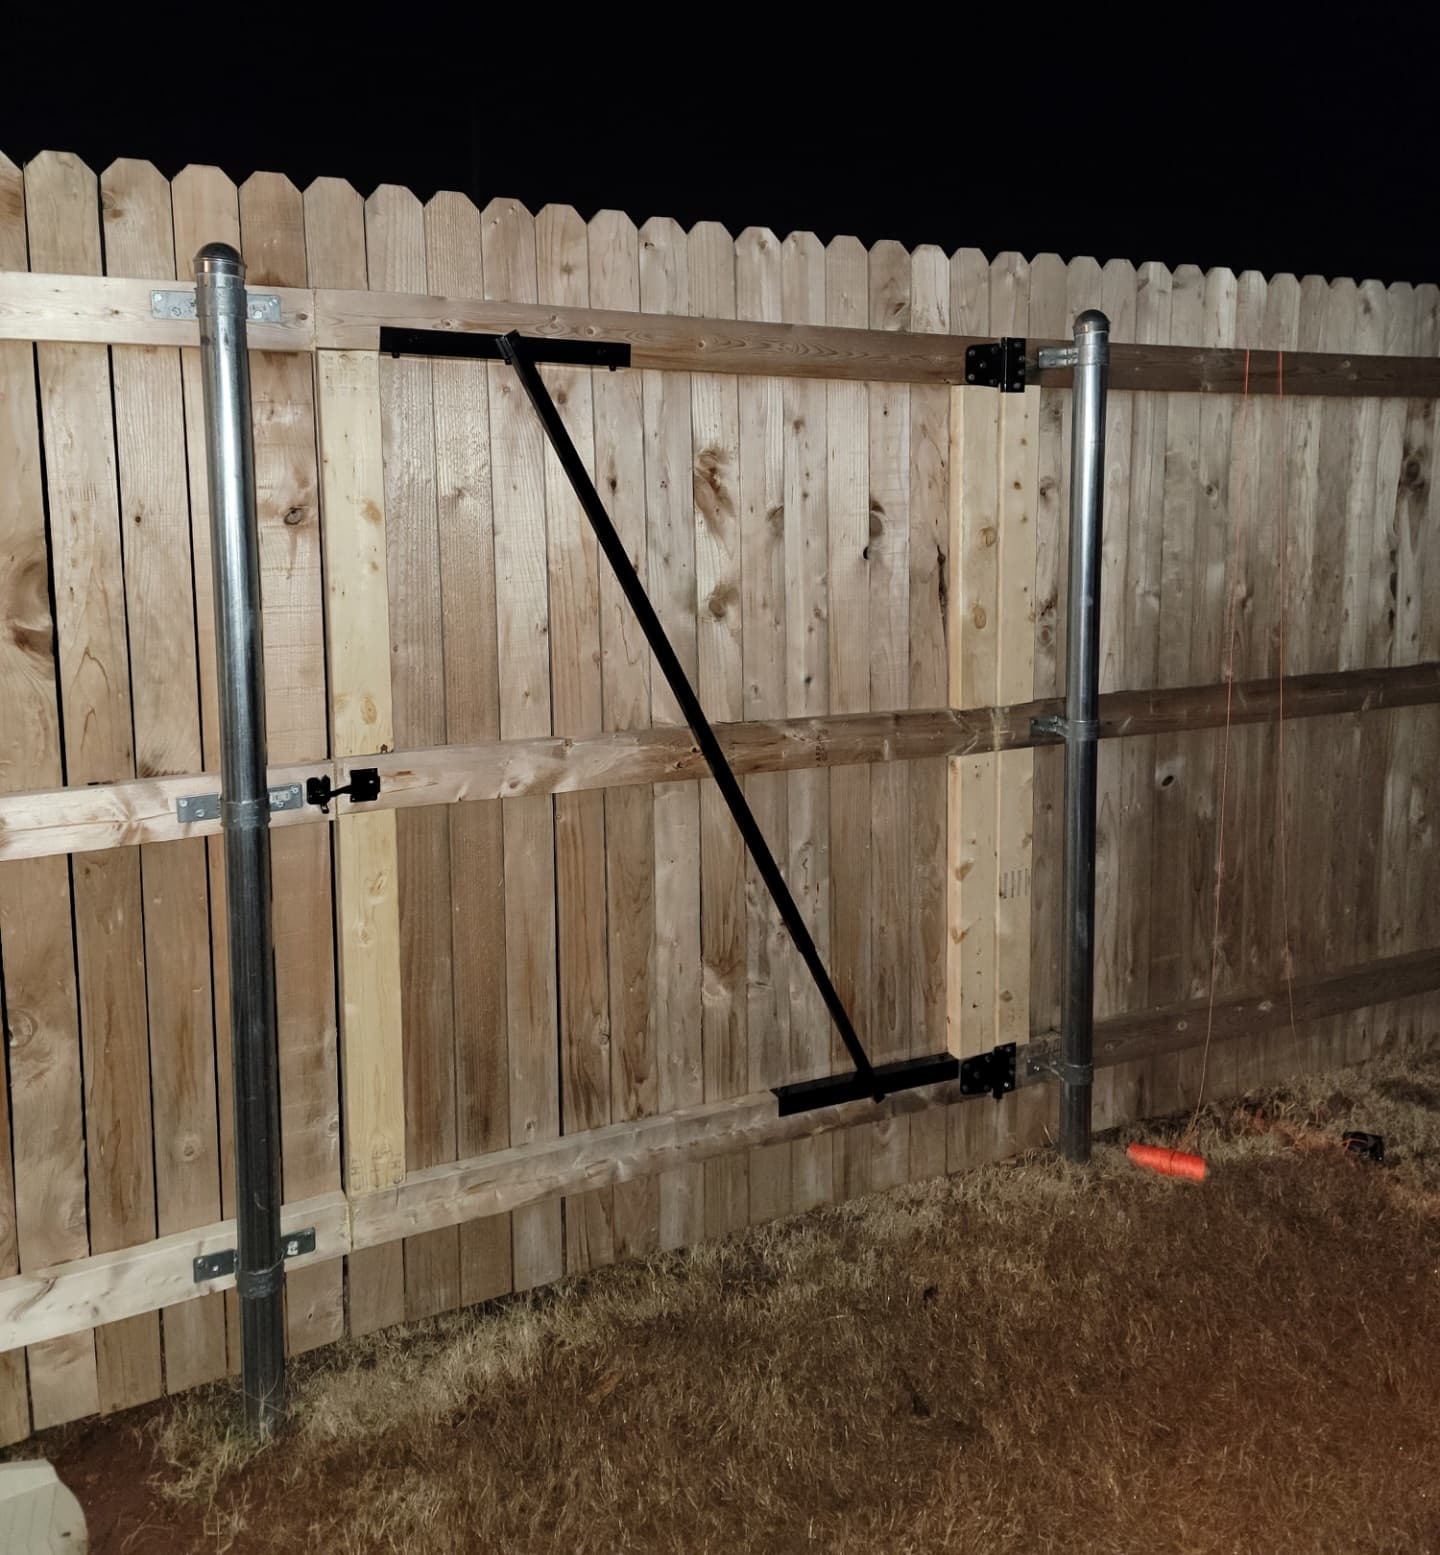
Next, I needed a way to actually get into my new telescope area, so we created a gate in the existing fence.
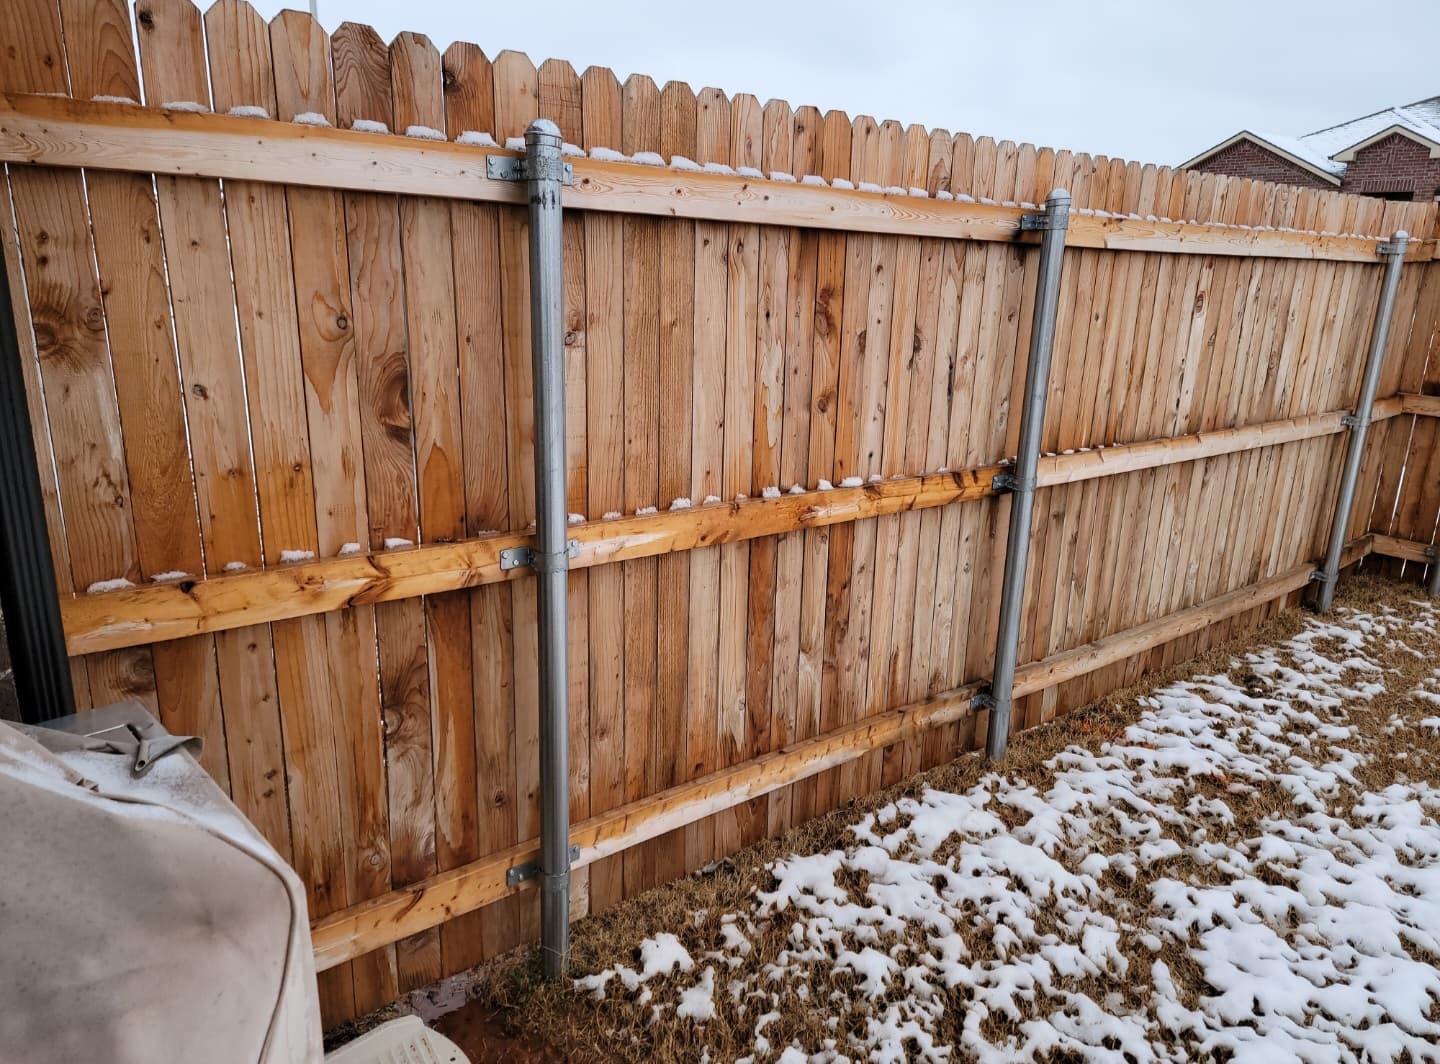
After a week or so to let the concrete dry in the posts, it was time to put up the fence.

Next was time for the pillars. I got a lot of friends and family to help. We had lots of good food, we started early and worked all the way until it was dark. Quite a fun and busy day.
We rented an auger from Home Depot, a family member brought a concrete mixer, and the rest is history.


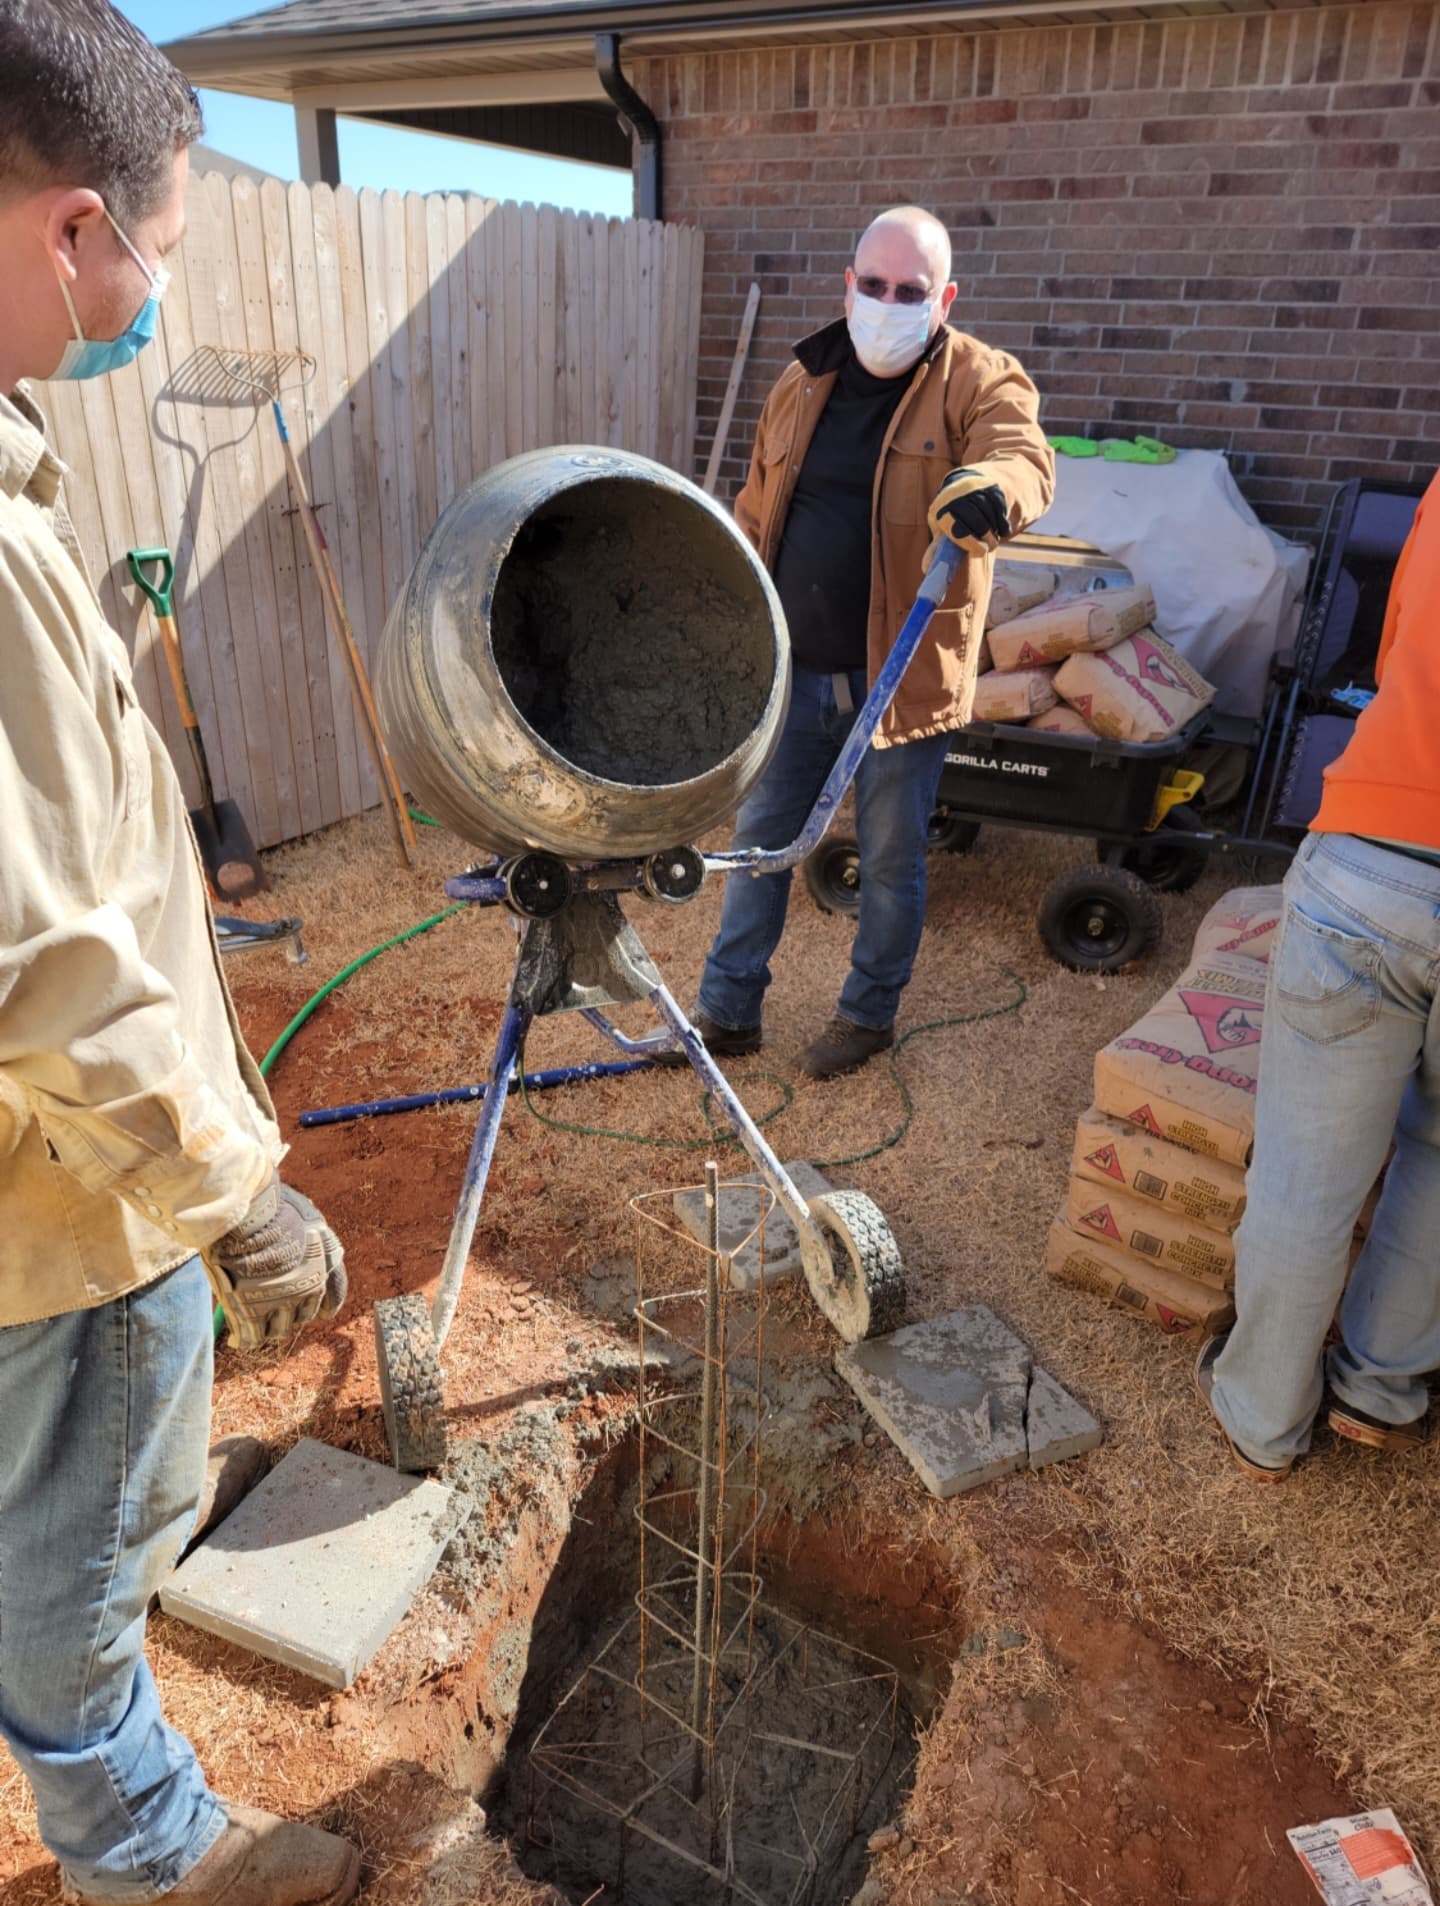

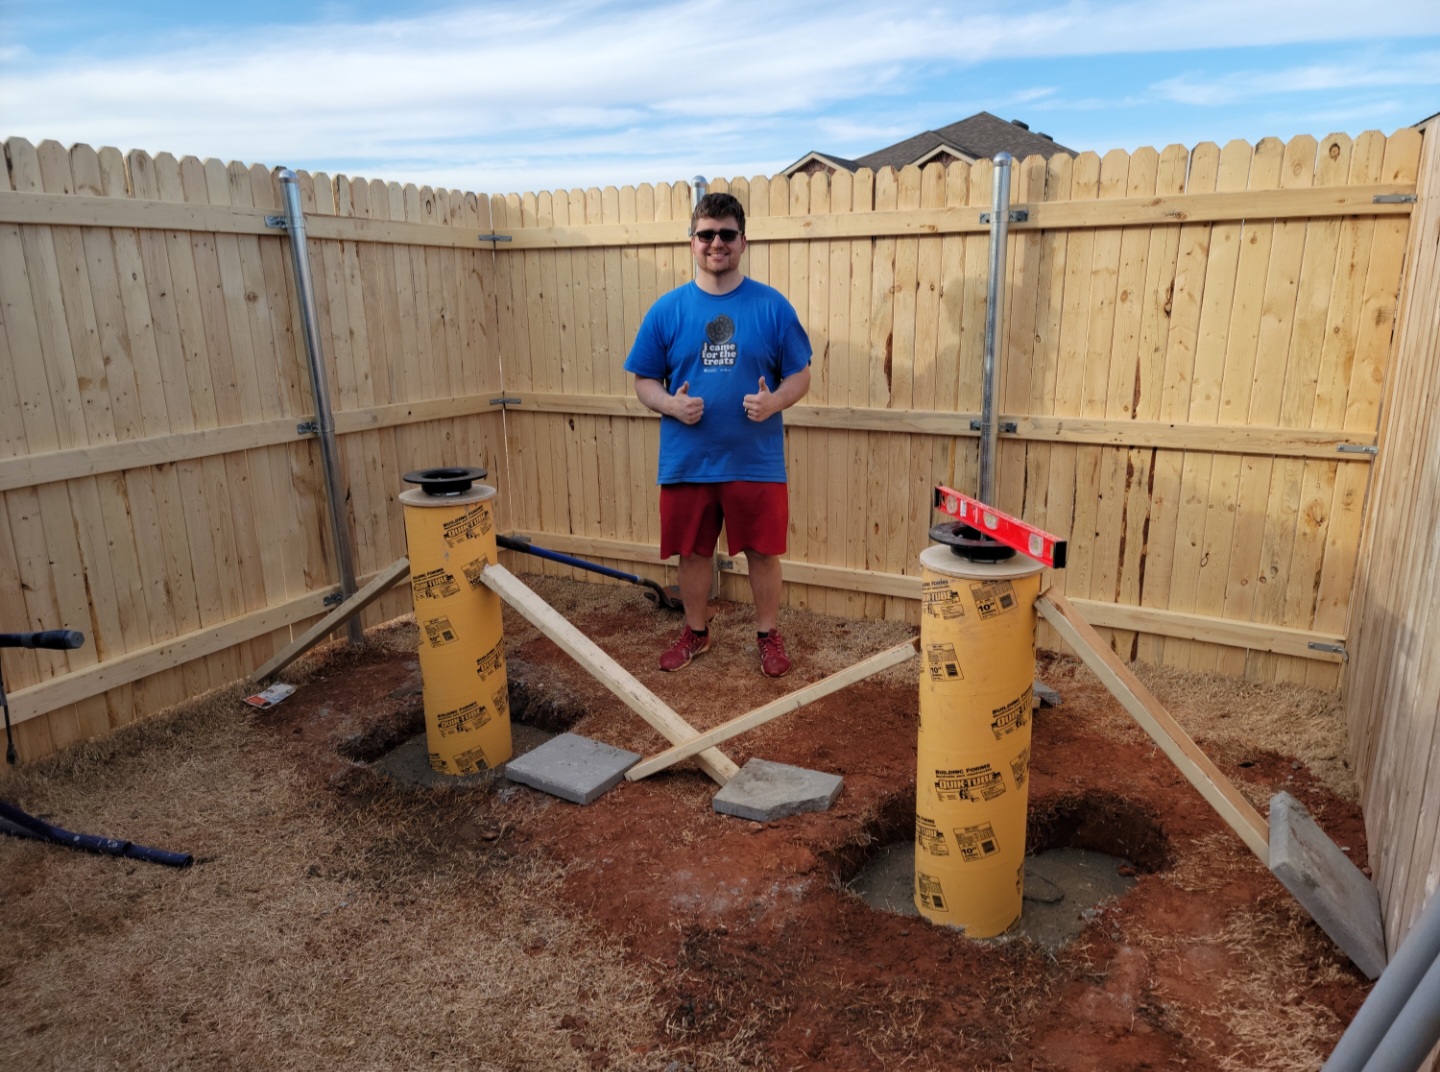
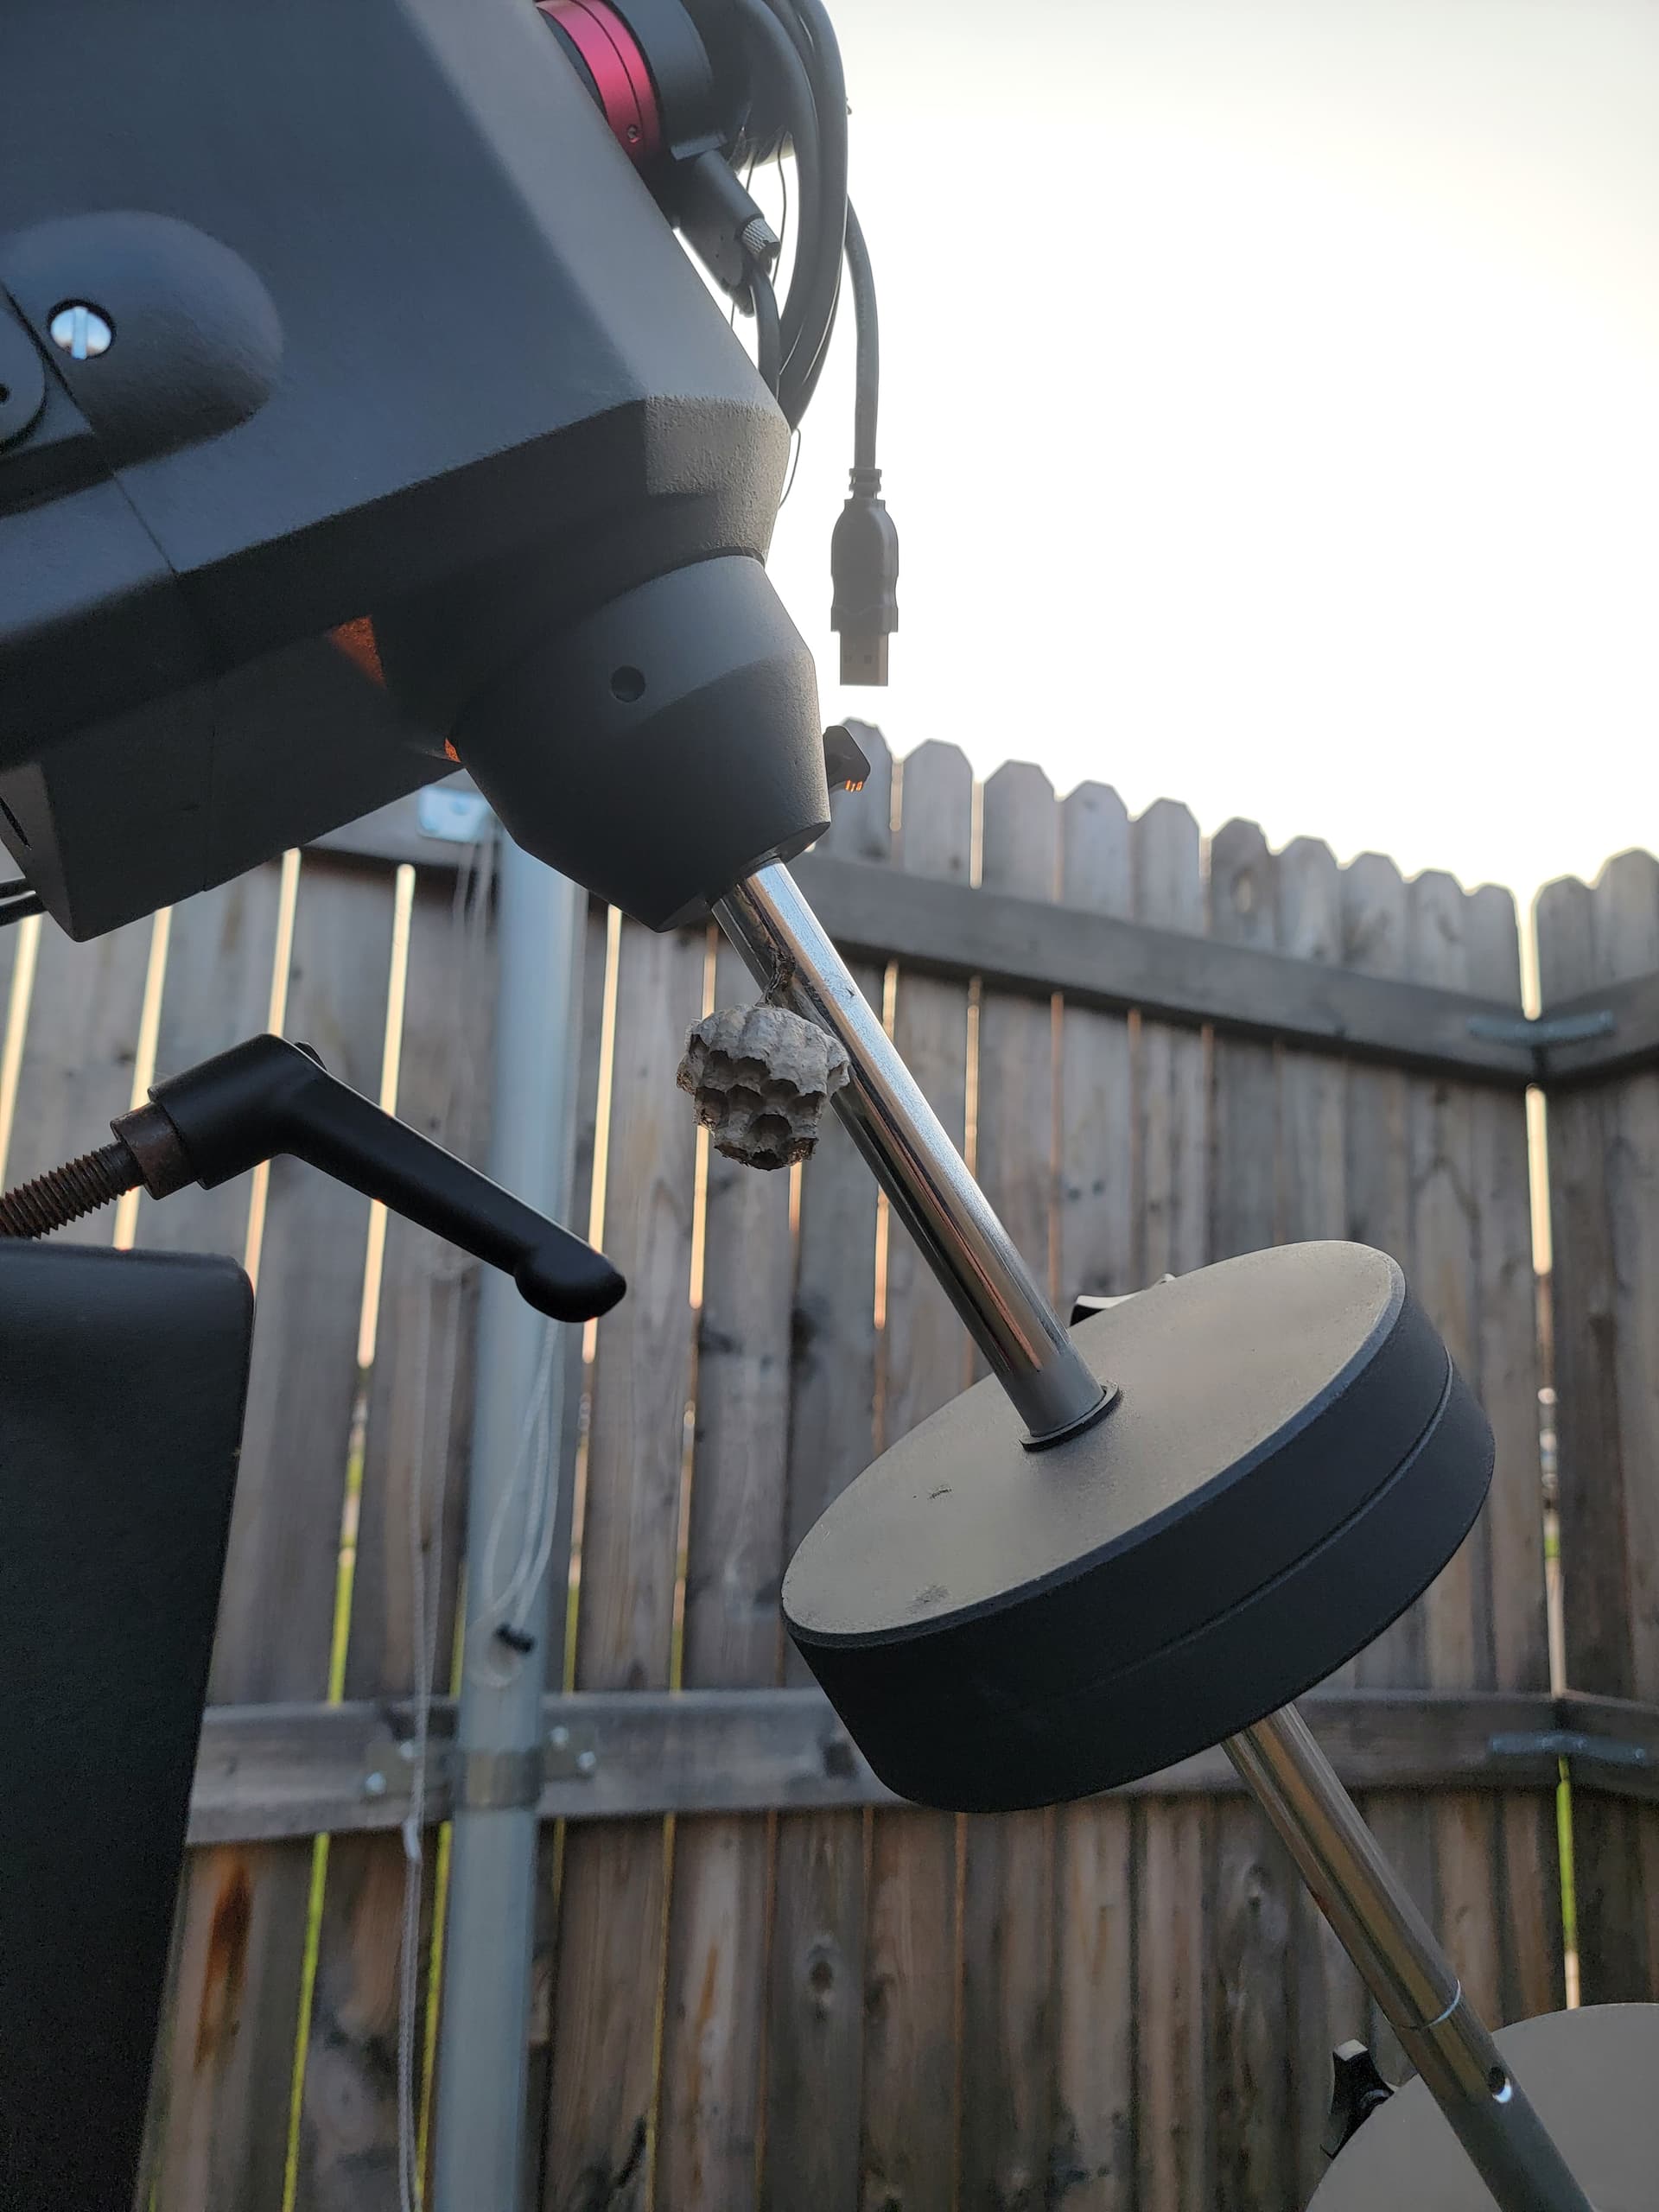
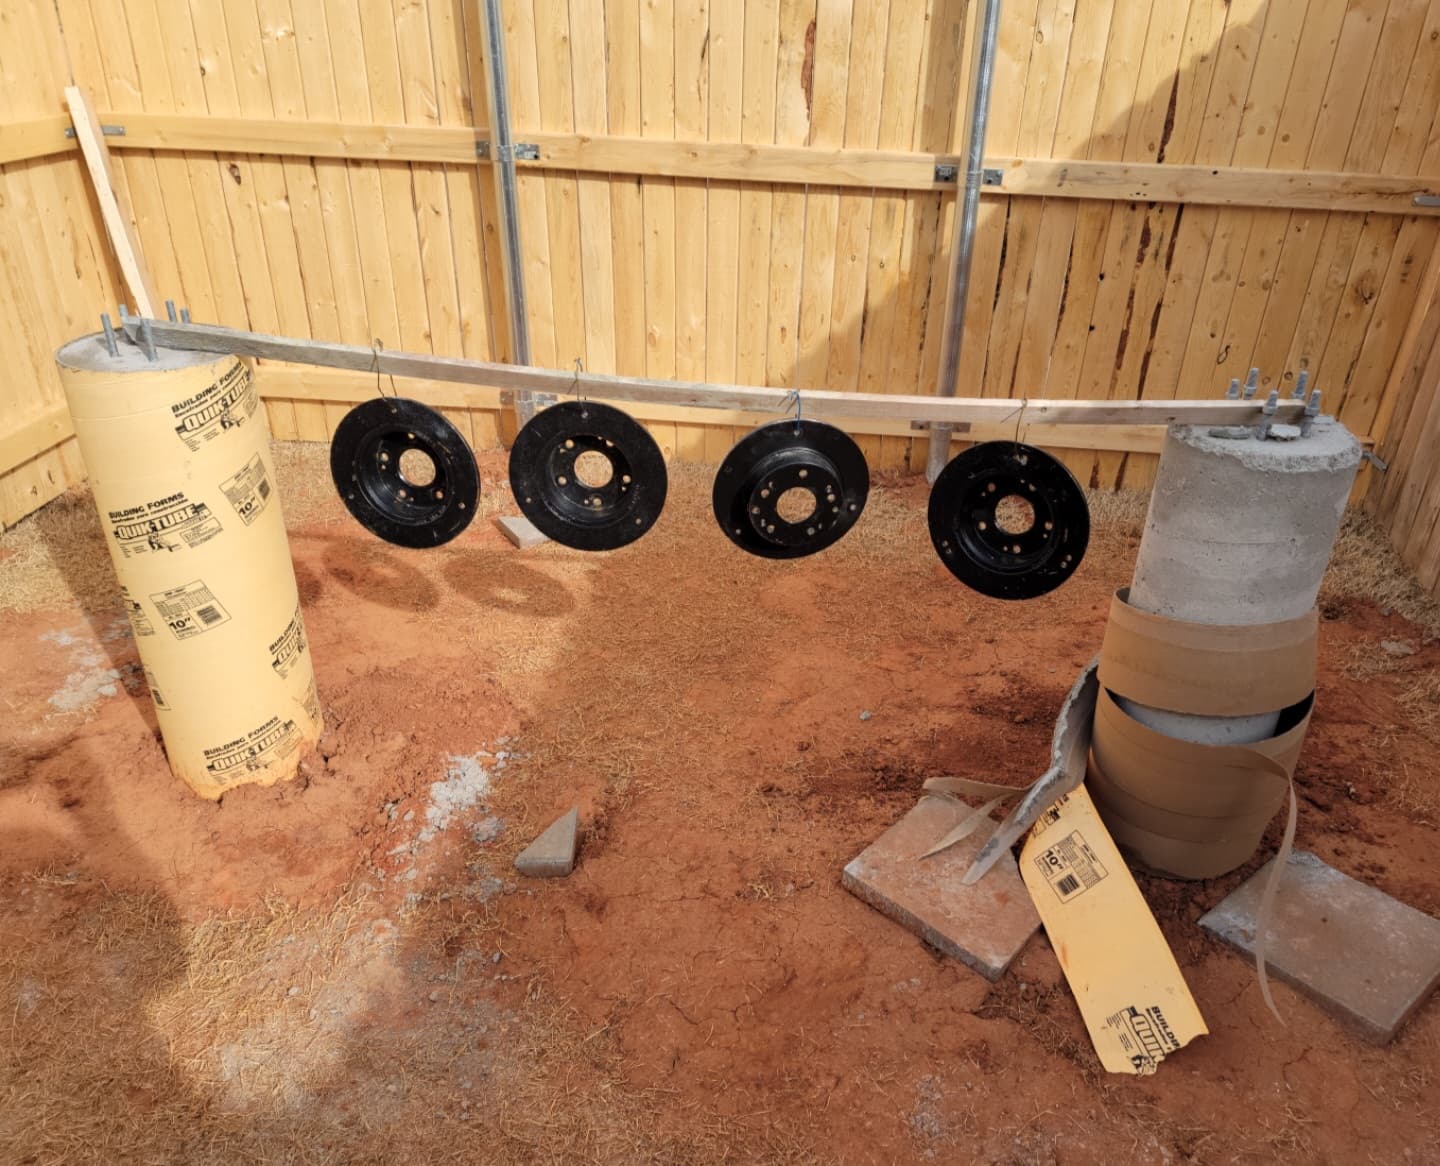
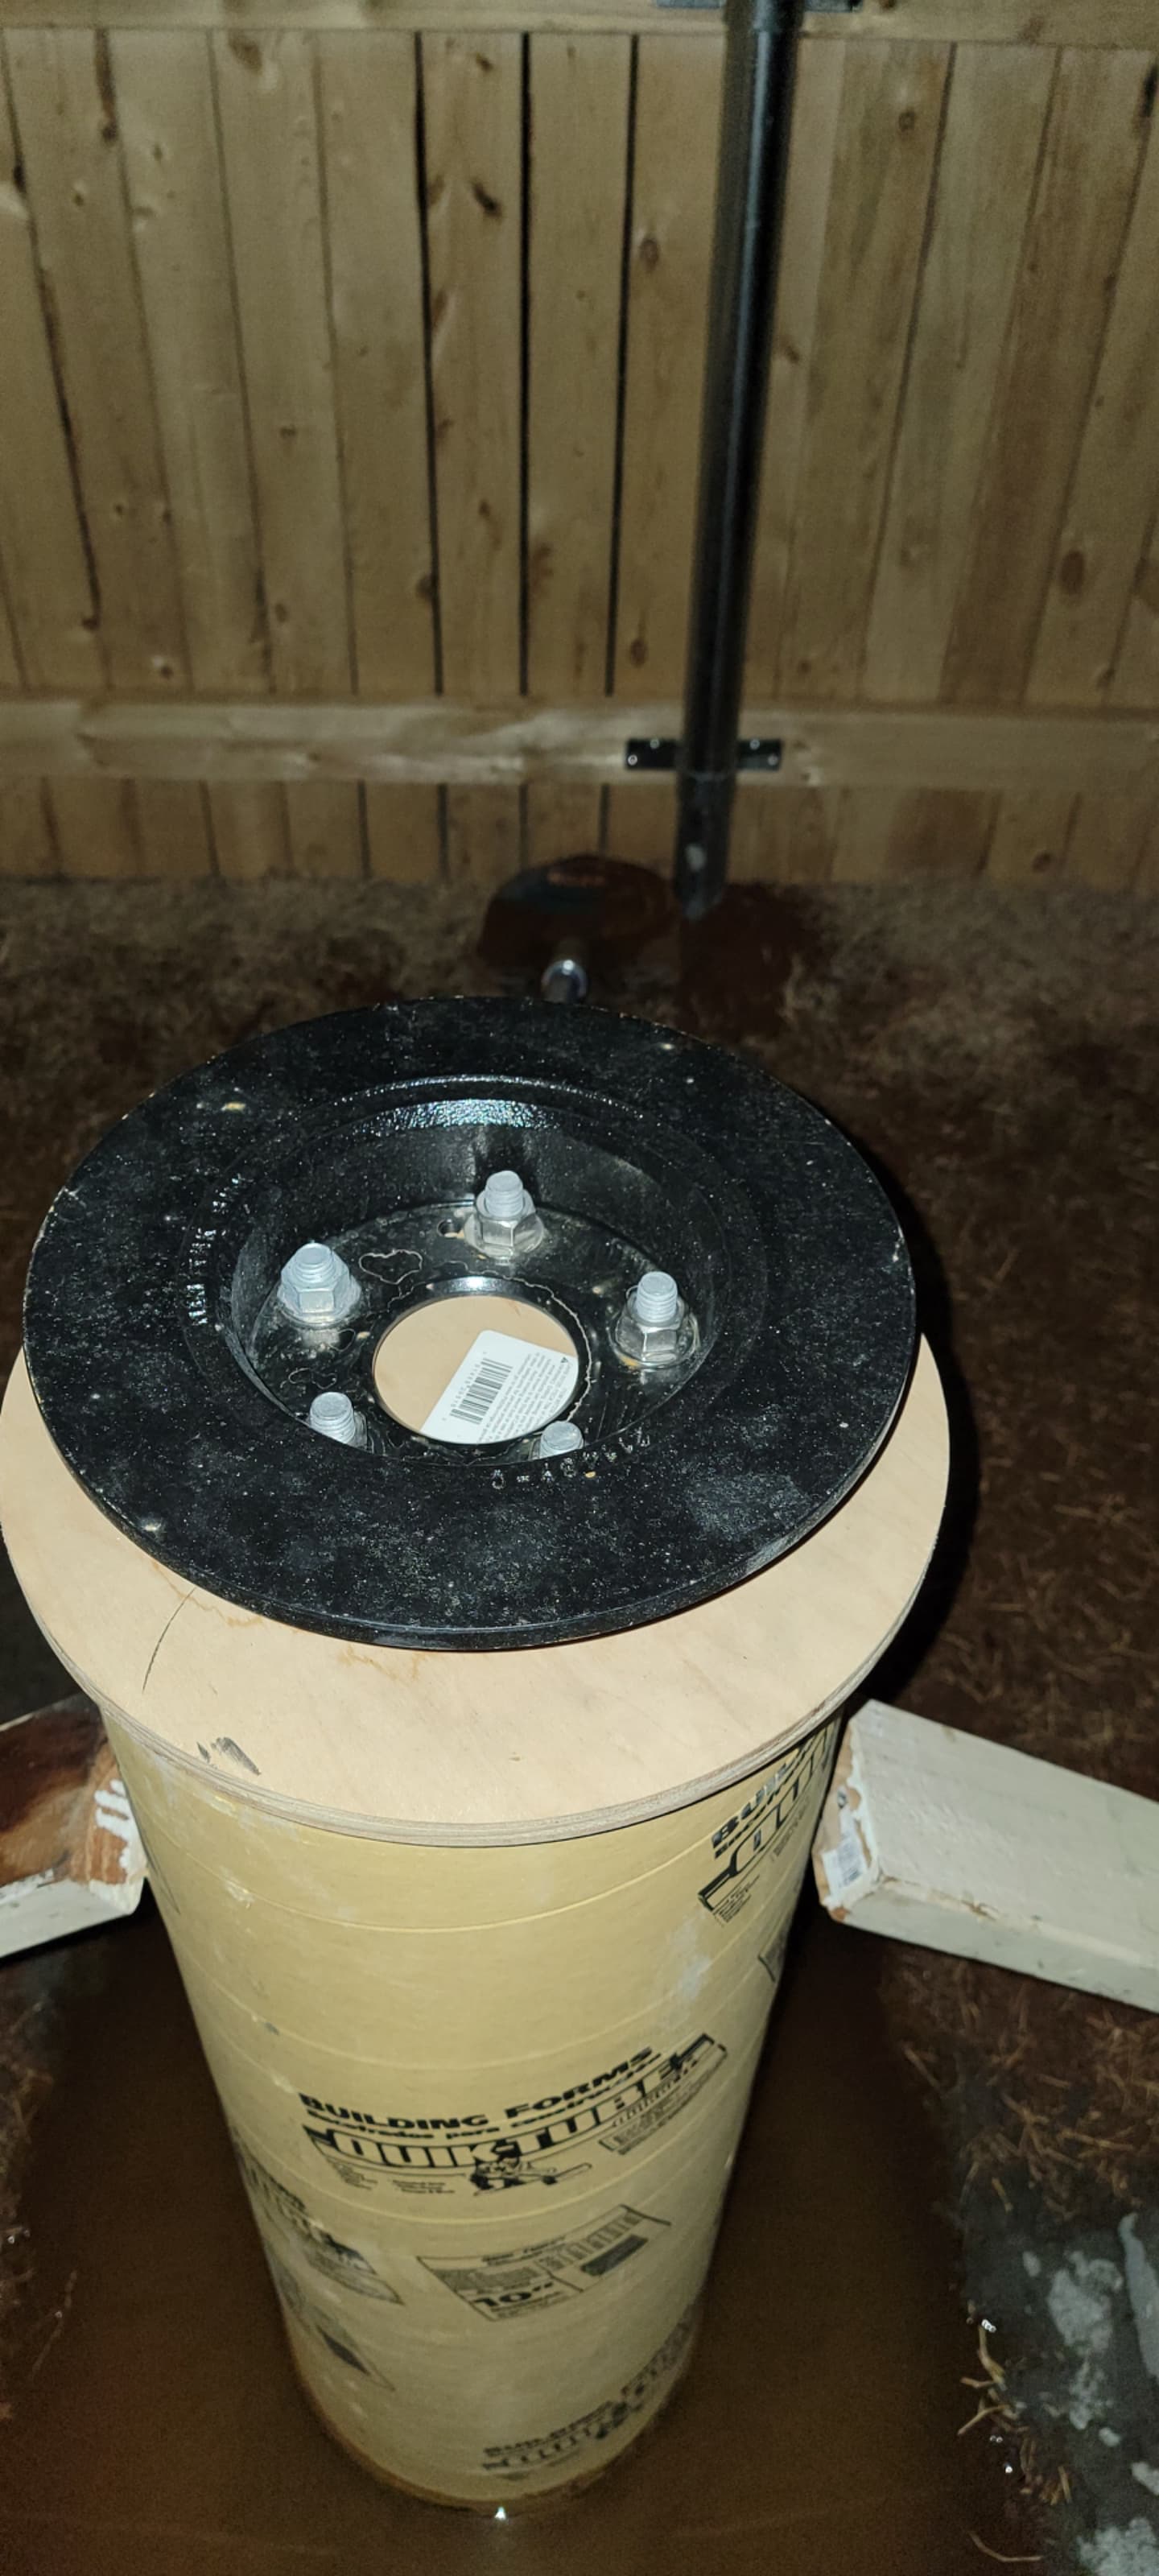
After a few weeks of letting the concrete set, I was able to continue work. The adapter plates that attach to the bolts on the pier and then attach to the scope are black spray-painted $15 brake rotors from Amazon. A fantastic idea. I had to drill a few holes here and there to attach them together and to the mounts, but it all worked out.
Reapplying paint, the first good use of the concrete pillars ![]()

Painting the pillars for protection and slight aesthetic.

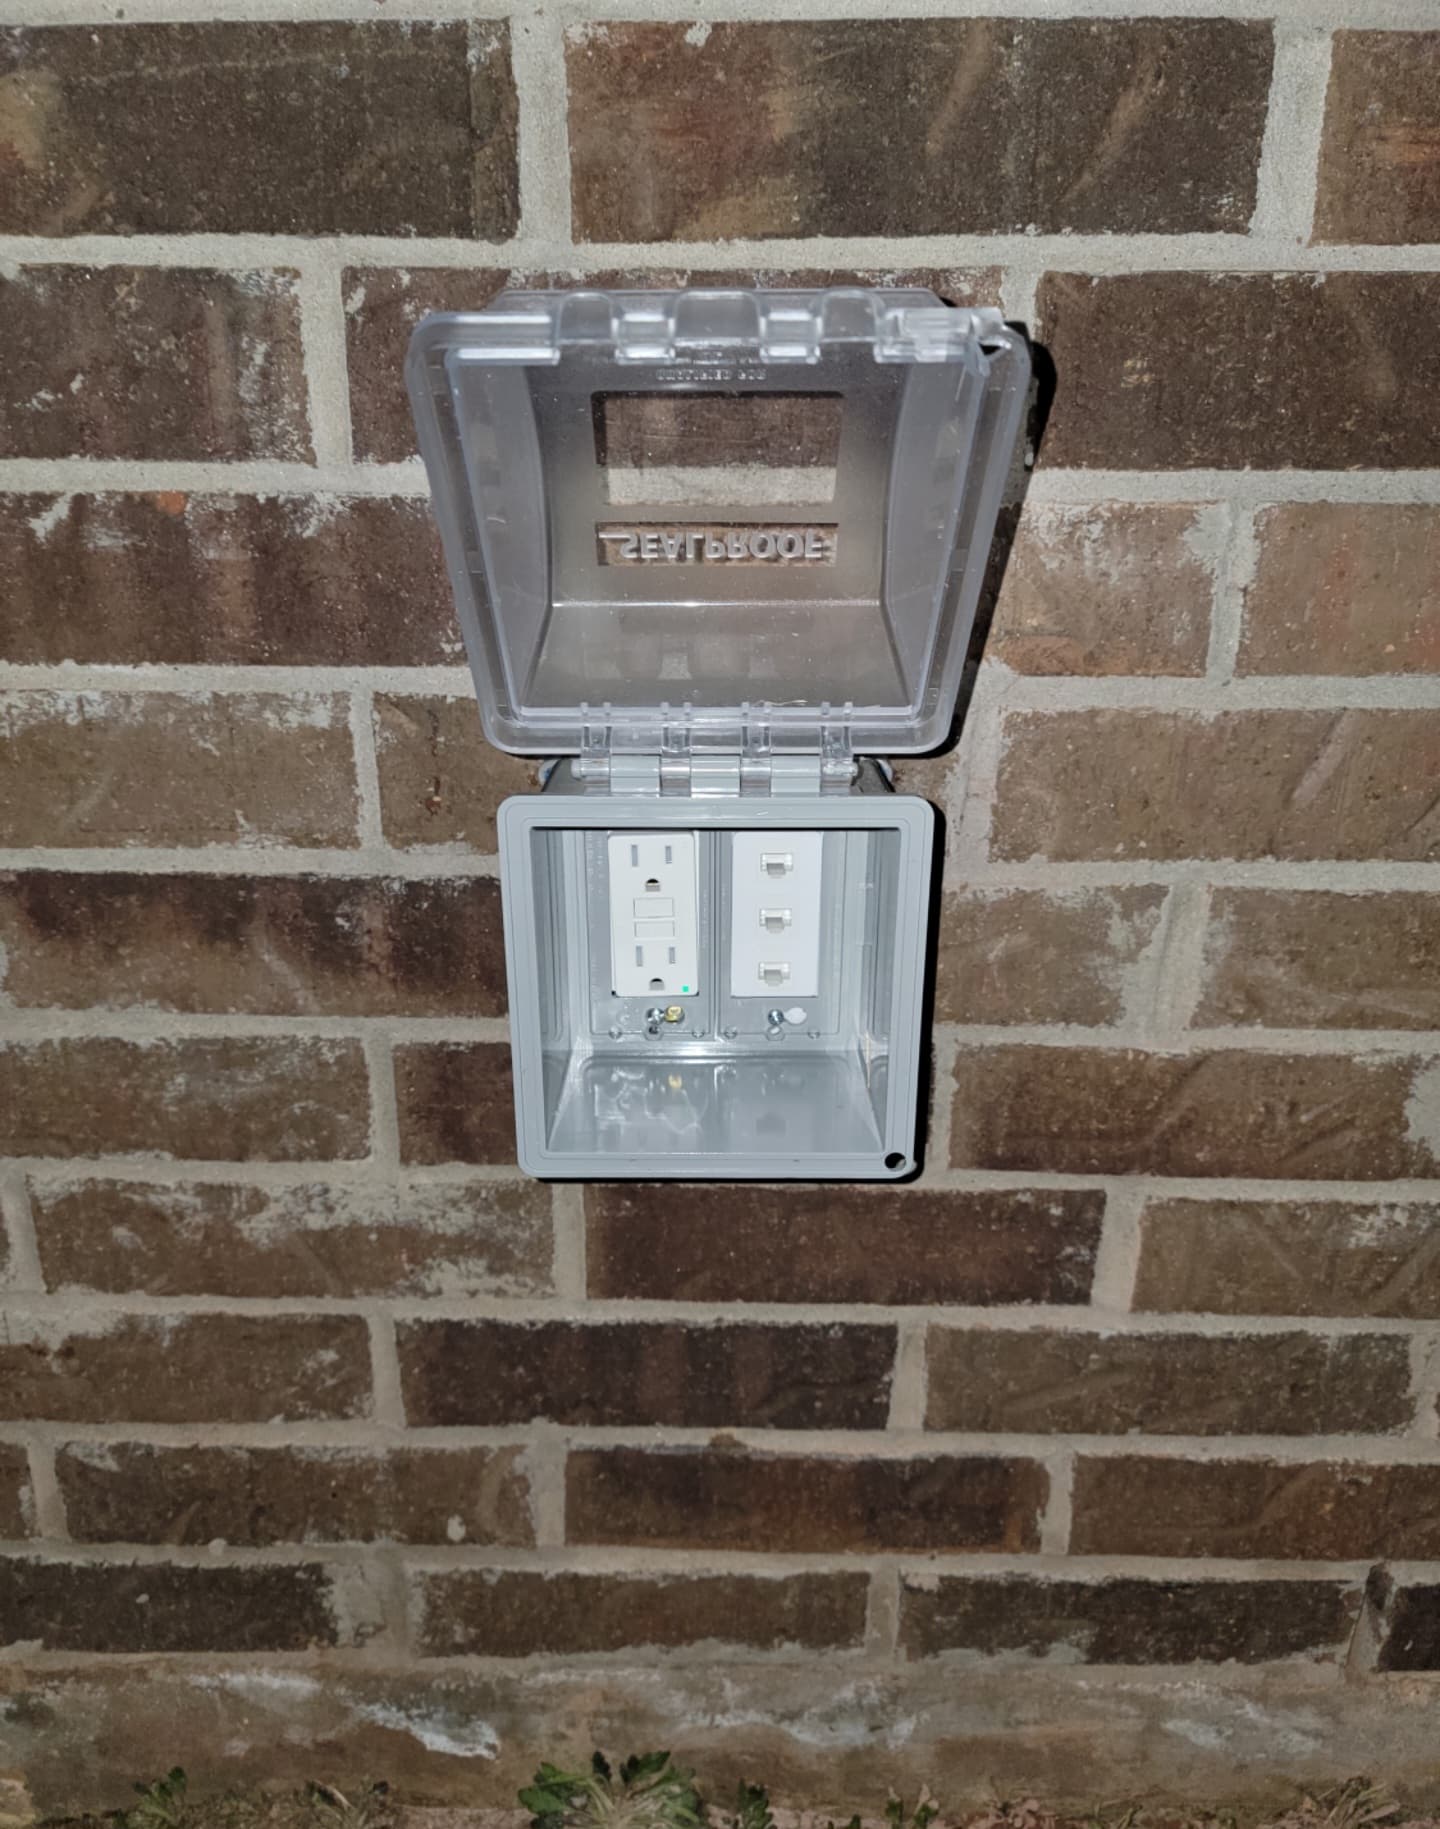
Installed an outdoor power/Ethernet receptacle.
Results


I also installed a Ring security camera so I could view my scopes live or see any unwelcome visitors.

Had a late night visitor one night! He was certainly welcome!

Thank you for reading. I wrote this all pretty quickly, so it isn’t well-formatted and is probably missing information, but I hope you all enjoy!
Thanks for looking!